One of the most important concepts of web application is CRUD (Create, Read, Update, Delete). It means way to interact with the database, developers use queries to retrieve, create, update, and delete records. In Laravel, the l5 repository is a design pattern used in Laravel to implement CRUD functionality.
It involves creating a repository class for each model in the application and be responsible for handling all database interactions related to that model, such as creating, reading, updating, and deleting records.
In this article, we will explore the way in which l5-repository is implemented in the Laravel framework and strongly support CRUD more quickly. Here, is what we will cover:
- Getting Started with Laravel
- Use Install Livewire and Tailwind CSS
- Implementation of the l5-repository
- Complete Guide to Retrieving All Users
- Complete Guide Create New User
- Complete Guide Update Existed User
- Complete Guide Delete Existed User
- Conclusion
Before diving deep into the code implementation, let us have a look at the installation of l5-repository, Laravel framework, and how we configure it for the first time.
I. Getting Started with Laravel
The rise of software projects have had a significant impact on the way that developers think about frameworks built on fundamental languages as Java, PHP, C#, Ruby, ... One of the most popular framework is Laravel. When working with the framework, you can easily install it by using the following command:
composer create-project --prefer-dist laravel/laravel flagtickcrud "7.*"
Moving forward, we will need to install `prettus/l5-repository` which can help to implement CRUD functionality. Visit on the website https://packagist.org to get further information.
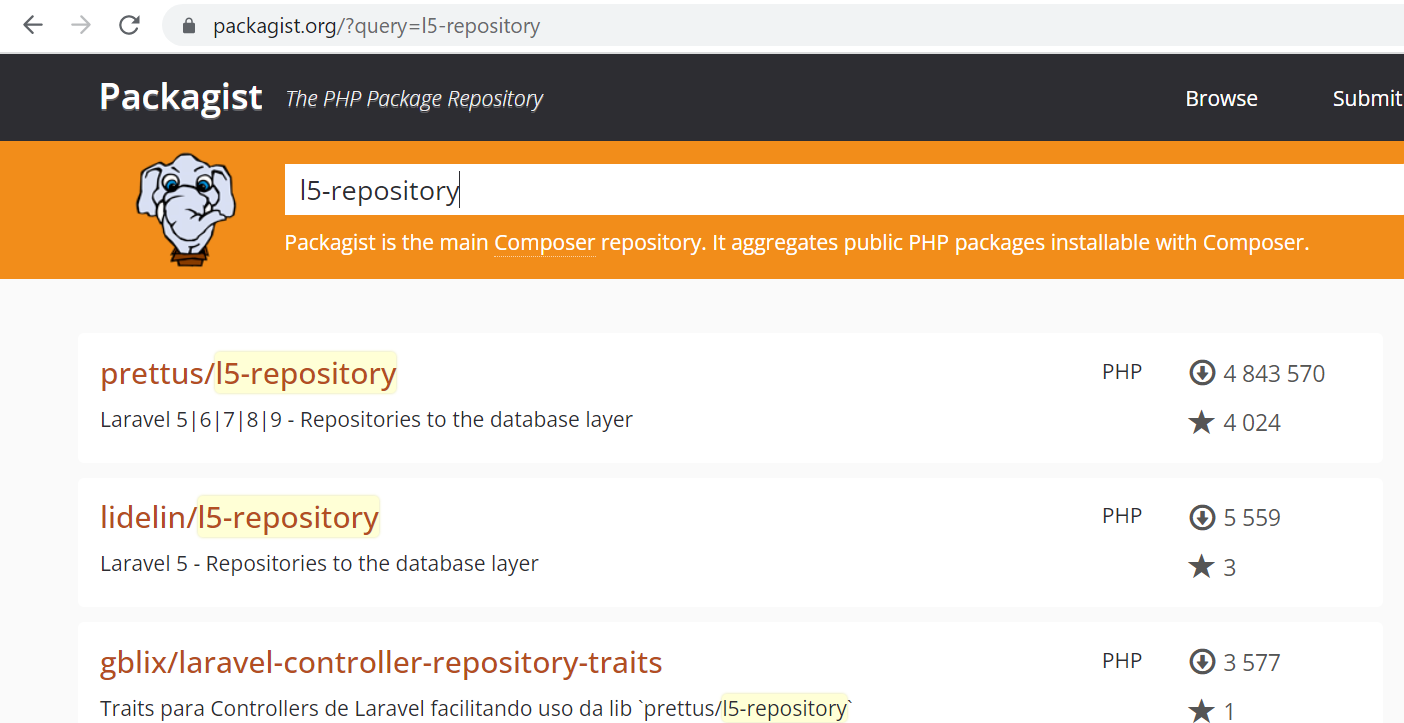
Note: To obtain the same result as the screenshot above, use the keyword `l5-repository`.
To install and activate the `l5-repository`, you can use `Composer`, which is following here:
composer require prettus/l5-repository
In some cases, we need further information on implementing l5-repository to avoid encountering errors while executing the above command. One possible cause of such errors may be the Laravel version.
For example, if your Laravel version is greater than or equal to 5.5, the service provider will be integrated automatically, and then you can observe in `app.php`. On the other hand, if your Laravel version is less than 5.5, you may need to have an additional configuration in the `app.php` using the following syntax:
Note: Use the link to check Laravel version in your project.
'providers' => [
    ...
    Prettus\Repository\Providers\RepositoryServiceProvider::class,
],
For Lumen:
$app->register(Prettus\Repository\Providers\LumenRepositoryServiceProvider::class);
After properly configuring the Service Provider in the `app.php` file, you can move forward to the next step by executing the following command:
php artisan vendor:publish --provider "Prettus\Repository\Providers\RepositoryServiceProvider"
If your local machine has been upgraded to PHP 8, it may not be appropriate to use Laravel version 7, and you may need to migrate to Laravel 8. To do this, you can modify the composer.json file and run composer update to synchronize the dependencies.
» composer.json
"require": {
    "php": "^8.0.2",
    ...
    "laravel/framework": "^8.0",
    ...
},
"autoload": {
    "psr-4": {
        "App\\": "app/"
    },
    "classmap": [
        "database/seeders",
        "database/factories"
    ]
},
» package.json
"devDependencies": {
   ...
   "postcss": "^8.3.1",
   "laravel-mix": "^6.0.6",
   ...
}
Making sure that you are working with the correct version of Laravel or confirming that a specific version of Laravel has been installed correctly on your system.
php artisan --version
II. Use Install Livewire and Tailwind CSS
Run the command `php artisan serve`, it starts a built-in PHP web server on your local machine, which listens on port 8000 by default. This server is only intended for development purposes and should not be used in production. Hence, http://localhost:8000 is the default address and port used by the Laravel development server to run the application.
When it comes done migration in Laravel 8, we will open up the project directory and install Livewire and Tailwind CSS using Composer:
composer require livewire/livewire laravel-frontend-presets/tailwindcss --dev
Finally, we will run `npm install && npm run dev` to build and compile js/css from the assets to public directory.
 /> php artisan ui tailwindcss --type=livewire

  The "--type" option does not exist.
 DONE  Compiled successfully in 18904ms
                                                                                                                                 4:33:32 PM
       Asset      Size   Chunks             Chunk Names
/css/app.css  4.09 MiB  /js/app  [emitted]  /js/app
  /js/app.js   596 KiB  /js/app  [emitted]  /js/app
We need the basic authentication views and routes for Laravel project. Hence, let run `php artisan ui:auth` command and you can customize UI follow up your desired manner.
 Do you want to run "ui:auth" instead?  (yes/no) [no]:
 > yes
Authentication scaffolding generated successfully.
Because you are using Laravel default authentication scaffolding, you will need to use Bootstrap instead of Tailwind CSS. To fix this, you can run the following command:
php artisan ui tailwindcss --auth
After that, you can run the following command to update dependencies in `package.json` file.
npm install && npm run dev
Note: You need to move `User.php` class into `App\Models`. It may be avoiding some unexpected errors.
Setup connection to MySQL database in Laravel, you need a define the database credentials in the `.env` file. Once the setup successfully, you can run `php artisan migrate` to run database migrations.
DB_CONNECTION=mysql
DB_HOST=127.0.0.1
DB_PORT=3306
DB_DATABASE=flagtickcrud
DB_USERNAME=root
DB_PASSWORD=
III. Implementation of the l5-repository
As you may know, l5-repository provides a repository layer in Laravel-based applications to approach as mediator between domain logic and data in database. Hence, we will use `UserRepository` and `EloquentUser` to implement as an example.
• UserRepository.php
<?php
/**
 * Created by PhpStorm.
 * User: lorence
 * Date: 25/05/2022
 * Time: 20:15
 */
namespace App\Repositories\User;

interface UserRepository
{
    /** Show all items */
    public function getAll();

    /** Create new item */
    public function create(array $attributes = []);

    /** Update the existed item */
    public function update(array $attributes, $id);

    /** Delete the existed item */
    public function delete($id);
}
• EloquentUser.php
<?php
/**
 * Created by PhpStorm.
 * User: lorence
 * Date: 25/05/2022
 * Time: 20:15
 */
namespace App\Repositories\User;

use Prettus\Repository\Eloquent\BaseRepository;

class EloquentUser extends BaseRepository implements UserRepository {

    /* MODEL
     * @return string
     */
    public function model()
    {
        return "App\\Models\\User";
    }

    public function with($relations)
    {
        return parent::with($relations);
    }

    public function getAll()
    {
        return $this->model->get();
    }

    public function create(array $attributes = [])
    {
        return parent::create($attributes);
    }

    public function delete($id) {
        return parent::delete($id);
    }

    public function update(array $attributes, $id) {
        return parent::update($attributes, $id);
    }
}
We need a good place to register any application-wide services or dependencies. Here, we will use it to bind the layer repository to your application.
public function register()
{
    $this->app->singleton(UserRepository::class, EloquentUser::class);
}
IV. Complete Guide to Retrieving All Users
We need to generate new Livewire component named `Index` which can be used to display list of users. Let us run the command `php artisan make:livewire User/Index` and `php artisan make:livewire User/UserForm`.
<?php

namespace App\Http\Livewire\User;

use App\Repositories\User\UserRepository;
use Livewire\Component;

class Index extends Component
{
    protected $repository;

    public function mount(UserRepository $userRepository)
    {
        $this->repository = $userRepository;
    }

    public function render()
    {
        $users = $this->repository->getAll();
        if (isset($users)) {
            return view('livewire.user.index', compact('users'));
        } else {
            return [];
        }
    }
}
To place `user.index` in `home.blade.php`, we can use `@livewire` directive to point out the appropriate location in `home.blade.php` file.
<section class="flex flex-col break-words bg-white sm:border-1 sm:rounded-md sm:shadow-sm sm:shadow-lg">

    <header class="font-semibold bg-gray-200 text-gray-700 py-5 px-6 sm:py-6 sm:px-8 sm:rounded-t-md">
        User
    </header>

    <div class="w-full p-6">
        <p class="text-gray-700">
            @livewire('user.index')
        </p>
    </div>
</section>
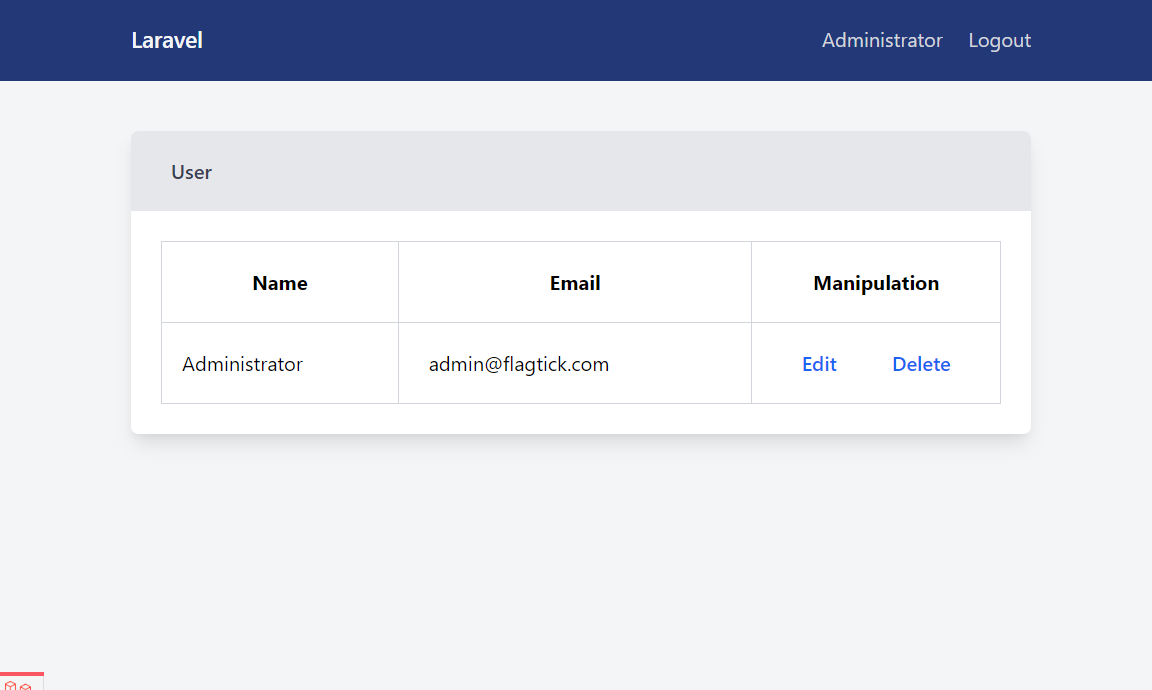
The table user interface provided by Tailwind CSS are used to style HTML tables. Hence, you can visit the website to get reference template. You can define `user.index.blade.php` as the following here:
<div>
    <table class="table w-full">
        <thead>
        <tr>
            <th class="border p-4">Name</th>
            <th class="border p-6">Email</th>
            <th class="border p-2">Manipulation</th>
        </tr>
        </thead>
        <tbody>
        @if(isset($users))
            @foreach($users as $user)
                <tr>
                    <td class="border p-4">{{ $user->name }}</td>
                    <td class="border p-6">{{ $user->email }}</td>
                    <td class="border p-2 text-center">
                        <button class="font-medium text-blue-600 dark:text-blue-500 hover:underline">Edit</button>
                        <span class="w-custom"></span>
                        <button class="font-medium text-blue-600 dark:text-blue-500 hover:underline">Delete </button>
                    </td>
                </tr>
            @endforeach
        @endif
        </tbody>
    </table>
</div>
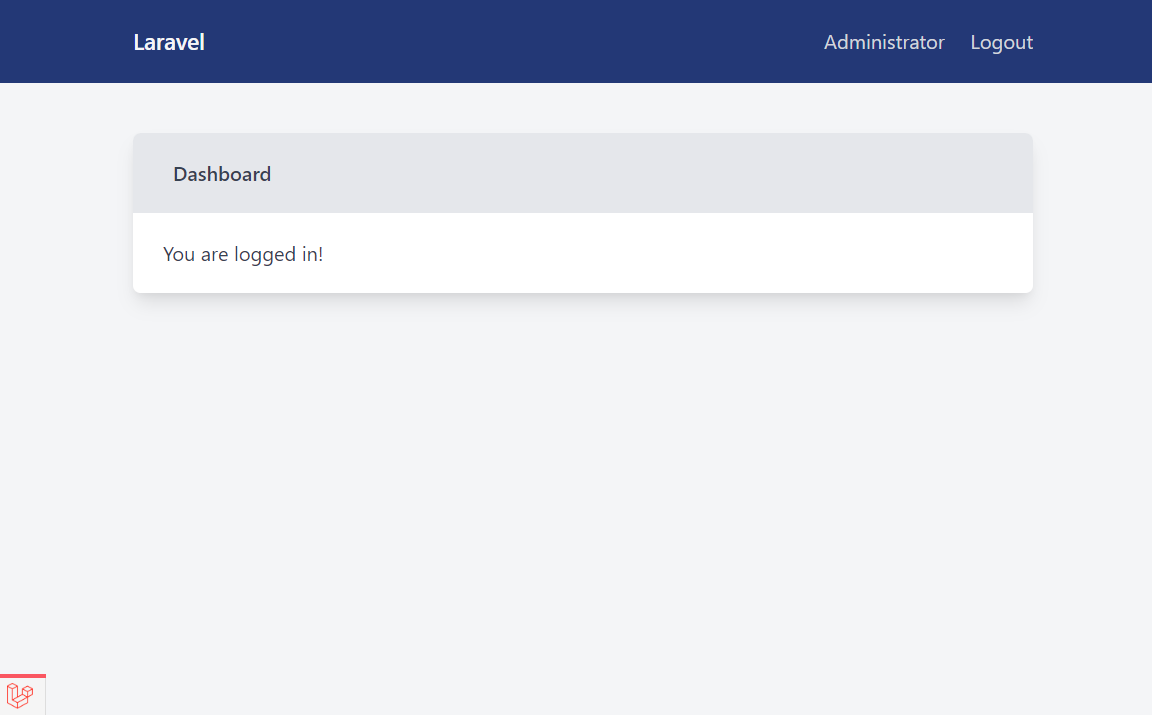
Then, you can visit http://localhost:8000/home to display all users in our application.
V. Complete Guide Create New User
First and foremost, you need to determine that modifying user information will depend on the specific demands of your application. There are two options:
- Page: provide more space for input fields and instructions, making easier.
- Modal: can be more efficient and user-friendly way.
Navigate to project and open terminal to run the command `wire-element/modal` to install Modal Component.
composer require wire-elements/modal
php artisan vendor:publish --tag=livewire-ui-modal-views
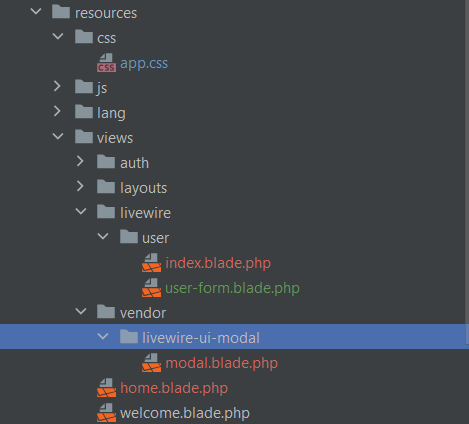
After running the command, the package should be installed and you should be able to see `livewire-ui-modal` in the `vendor` folder.
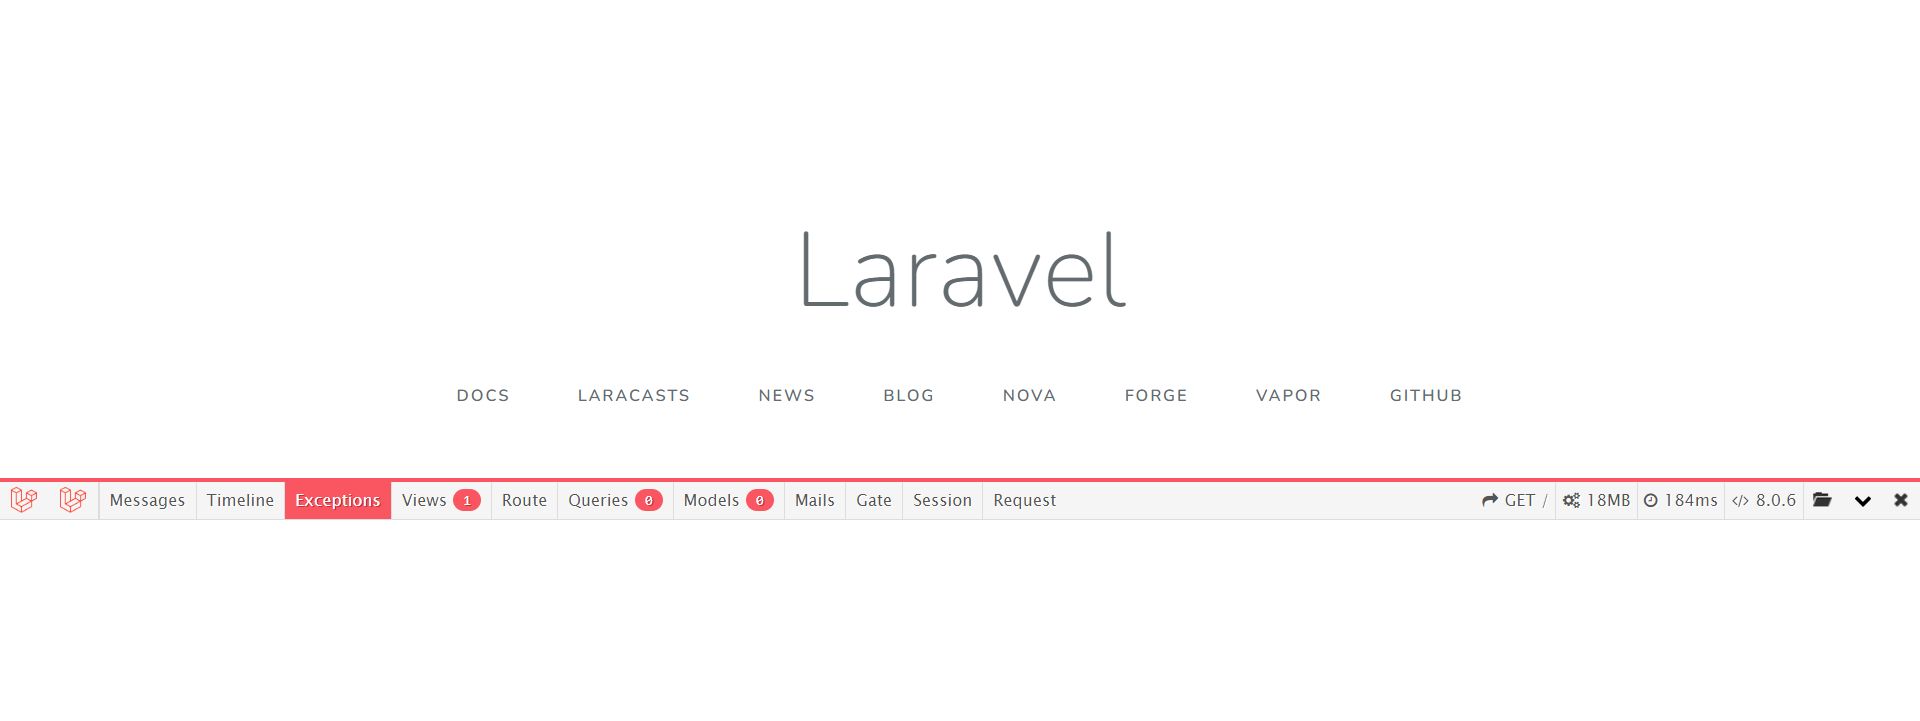
Note: You can remove `"barryvdh/laravel-debugbar": "^3.2"` in composer.json to disable debugger tool by Laravel 8 provide. The `wire:click` directive is a Livewire directive that allows you to listen to click events and trigger Livewire actions. However, it only works in Livewire views and components, not in regular Blade templates.
To add a new user, you can use the 'Add User' button located on `user.index.blade.php`, which will trigger event to open modal for you to fill out and submit.
<div class="flex items-center justify-end pl-4 pb-4 pr-4 mt-4 w-full mx-auto">
    <button wire:click='$emit("openModal", "user.user-form", {{ json_encode(["modal" => "create", "user" => null]) }})'
            class="h-8 px-4 m-2 text-sm text-white bg-red-600 transition-colors duration-150 rounded-lg focus:shadow-outline hover:bg-indigo-800">New User</button>
</div>
<table class="table w-full">
...
</table>
If you get error `The TypeError: Cannot read properties of undefined (reading 'version')`, then you should install `alpinejs` and setup in `app.js` file.
require('./bootstrap');

import Alpine from 'alpinejs';

window.Alpine = Alpine;

Alpine.start();
Note: We are using version `"alpinejs": "^3.0.6",`. You can reference and run `npm install` to update the package.
Let us start with custom form, you navigate to `user.user-form.blade.php` file and modify form template.
<div wire:ignore xmlns:wire="http://www.w3.org/1999/xhtml">
    <div class="py-6 pr-4 pl-4 pb-1">
        @if(isset($modal) && 0 == strcmp('create', $modal) || empty($modal))
            <h1 class="pb-4">Create User</h1>
            <form wire:submit.prevent="createuser()">
                @else
                    <h1 class="pb-4">Update User</h1>
                    <form wire:submit.prevent="updateuser()">
                        @endif
                        <div class="mb-6">
                            <label for="email" class="block mb-2 text-sm font-medium text-gray-900 dark:text-gray-300">Your email</label>
                            <input type="email" id="email" class="bg-gray-50 border border-gray-300 text-gray-900 text-sm rounded-lg focus:ring-blue-500 focus:border-blue-500 block w-full p-2.5 dark:bg-gray-700 dark:border-gray-600 dark:placeholder-gray-400 dark:text-white dark:focus:ring-blue-500 dark:focus:border-blue-500" placeholder="[email protected]"
                                   wire:model="email" required="">
                        </div>
                        <div class="mb-6">
                            <label for="name" class="block mb-2 text-sm font-medium text-gray-900 dark:text-gray-300">Your name</label>
                            <input type="text" id="name" class="bg-gray-50 border border-gray-300 text-gray-900 text-sm rounded-lg focus:ring-blue-500 focus:border-blue-500 block w-full p-2.5 dark:bg-gray-700 dark:border-gray-600 dark:placeholder-gray-400 dark:text-white dark:focus:ring-blue-500 dark:focus:border-blue-500" placeholder="flowbite"
                                   wire:model="name" required="">
                        </div>
                        <div class="mb-6">
                            <label for="password" class="block mb-2 text-sm font-medium text-gray-900 dark:text-gray-300">Your password</label>
                            @if(isset($modal) && 0 == strcmp('create', $modal) || empty($modal))
                                <input type="password" id="password" class="bg-gray-50 border border-gray-300 text-gray-900 text-sm rounded-lg focus:ring-blue-500 focus:border-blue-500 block w-full p-2.5 dark:bg-gray-700 dark:border-gray-600 dark:placeholder-gray-400 dark:text-white dark:focus:ring-blue-500 dark:focus:border-blue-500"
                                       wire:model="password" required="">
                            @else
                                <input type="password" id="password" class="bg-gray-50 border border-gray-300 text-gray-900 text-sm rounded-lg focus:ring-blue-500 focus:border-blue-500 block w-full p-2.5 dark:bg-gray-700 dark:border-gray-600 dark:placeholder-gray-400 dark:text-white dark:focus:ring-blue-500 dark:focus:border-blue-500"
                                       wire:model="password">
                            @endif
                        </div>
                        <div class="mb-6 flex items-center justify-end">
                            <button type="submit" class="h-8 px-4 m-2 text-sm text-white bg-red-600 transition-colors duration-150 rounded-lg focus:shadow-outline hover:bg-indigo-800">Submit</button>
                        </div>
                @if(isset($modal) && 0 == strcmp('update', $modal))
                    </form>
                @else
            </form>
        @endif
    </div>
</div>
By modifying `user.user-form.blade.php` file, you still need to update `UserForm.php` file.
class UserForm extends ModalComponent
{

    protected $modal;

    public $name;
    public $email;
    public $password;

    public function mount($modal)
    {
        $this->modal = $modal;
    }

    public function render()
    {
        return view('livewire.user.user-form')->with('modal', $this->modal);
    }

    public function createuser() {
        app(UserRepository::class)->create(array(
            'name' => $this->name,
            'email' => $this->email,
            'password' => Hash::make($this->password)
        ));
        $this->emit('closeModal', 'user.user-form');
        $this->emit('refreshUser', 'user.index');
    }
}
The next part, we will create trigger named `refreshUser` to refresh user in `user.index.blade.php` file after create user successfully.
class Index extends Component
{
    protected $repository;

    protected $listeners = [
        'refreshUser' => '$refresh',
    ];

    public function mount(UserRepository $userRepository)
    {
        $this->repository = $userRepository;
    }

    public function render(): View|Factory|array|Application
    {
        if (null != $this->repository) {
            $users = $this->repository->getAll();
        } else {
            /** Handle case if refresh users table */
            $users = app(UserRepository::class)->getAll();
        }
        if (isset($users)) {
            return view('livewire.user.index', compact('users'));
        } else {
            return [];
        }
    }

    public function refreshUser() {
        $this->render();
    }
}
When using the Livewire/Modals package with Livewire, you need to include the following in your Blade template in order to display modals. Here is sample in layouts/app.blade.php file.
<!doctype html>
<html lang="{{ str_replace('_', '-', app()->getLocale()) }}">
<head>
    <meta charset="utf-8">
    <meta name="viewport" content="width=device-width, initial-scale=1">

    <!-- CSRF Token -->
    <meta name="csrf-token" content="{{ csrf_token() }}">

    <title>{{ config('app.name', 'Laravel') }}</title>

    @livewireStyles

    <!-- Scripts -->
    <script src="{{ asset('js/app.js') }}" defer></script>

    <!-- Styles -->
    <link href="{{ mix('css/app.css') }}" rel="stylesheet">
</head>
<body class="bg-gray-100 h-screen antialiased leading-none font-sans">
    ....

    @stack('modals')

    @livewire('livewire-ui-modal')
    @livewireScripts
</body>
</html>
VI. Complete Guide Update Existed User
To open the update modal, add the code to the relevant element's `wire:click` attribute in `user.index.blade.php` file.
<td class="border p-2 text-center">
    <button wire:click='$emit("openModal", "user.user-form", {{ json_encode(["modal" => "update", "user" => $user]) }})' class="font-medium text-blue-600 dark:text-blue-500 hover:underline">Edit</button>
    <span class="w-custom"></span>
    <button class="font-medium text-blue-600 dark:text-blue-500 hover:underline">Delete </button>
</td>
The code triggers an event named `openModal` and pass two parameters: modal and user. We will modify method `mount()` and create new method named `updateuser()` to update user's information.
class UserForm extends ModalComponent
{

    protected $modal;

    public $name;
    public $email;
    public $password;
    public $id_user;

    public function mount($modal, $user)
    {
        $this->modal = $modal;
        if (!empty($user)) {
            $this->name = $user['name'];
            $this->email = $user['email'];
            $this->id_user = $user['id'];
        }
    }

    public function render()
    {
        return view('livewire.user.user-form')->with('modal', $this->modal);
    }

    public function createuser() {
        app(UserRepository::class)->create(array(
            'name' => $this->name,
            'email' => $this->email,
            'password' => Hash::make($this->password)
        ));
        $this->emit('closeModal', 'user.user-form');
        $this->emit('refreshUser', 'user.index');
    }

    public function updateuser() {
        if (empty($this->password)) {
            /** Keep password as old */
            app(UserRepository::class)->update(array(
                'name' => $this->name,
                'email' => $this->email,
            ), $this->id_user);
        } else {
            /** Change new password */
            app(UserRepository::class)->update(array(
                'name' => $this->name,
                'email' => $this->email,
                'password' => Hash::make($this->password)
            ), $this->id_user);
        }
        $this->emit('closeModal', 'user.user-form');
        $this->emit('refreshUser', 'user.index');
    }
}
VII. Complete Guide Delete Existed User
Let add code to the relevant elements `wire:click` into `user.index.blade.php` file to set up logic delete existing user.
<td class="border p-2 text-center">
    <button wire:click='$emit("openModal", "user.user-form", {{ json_encode(["modal" => "update", "user" => $user]) }})' class="font-medium text-blue-600 dark:text-blue-500 hover:underline">Edit</button>
    <span class="w-custom"></span>
    <button wire:click="deleteuser({{ $user->id }})"
            class="font-medium text-blue-600 dark:text-blue-500 hover:underline">Delete </button>
</td>
After that, you can write method `deleteuser` in `Index.php` to handle delete existed user by using l5-repository pattern.
public function deleteuser($user_id) {
    app(UserRepository::class)->delete($user_id);
    $this->emit('refreshUser', 'user.index');
}
Great job on your progress so far! Your Laravel CRUD application is complete, and you've successfully implemented the necessary features for the user's table. The next step is to incorporate notifications, which will keep users informed about any changes made to their account.
composer require jantinnerezo/livewire-alert
After that, we will update our `app.blade.php` to embed Livewire Alert for the whole Laravel application.
<!doctype html>
<html lang="{{ str_replace('_', '-', app()->getLocale()) }}">
<head>
    <meta charset="utf-8">
    <meta name="viewport" content="width=device-width, initial-scale=1">

    <!-- CSRF Token -->
    <meta name="csrf-token" content="{{ csrf_token() }}">

    <title>{{ config('app.name', 'Laravel') }}</title>

    @livewireStyles

    <!-- Scripts -->
    <script src="{{ asset('js/app.js') }}" defer></script>

    <!-- Styles -->
    <link href="{{ mix('css/app.css') }}" rel="stylesheet">
</head>
<body class="bg-gray-100 h-screen antialiased leading-none font-sans">
    ....

    @stack('modals')

    @livewire('livewire-ui-modal')
    @livewireScripts

    <script src="//cdn.jsdelivr.net/npm/sweetalert2@11"></script>
    <x-livewire-alert::scripts />
</body>
</html>
You can also manually include the script by publishing `livewire-alert.js`. Let run the following command:
php artisan vendor:publish --tag=livewire-alert:assets
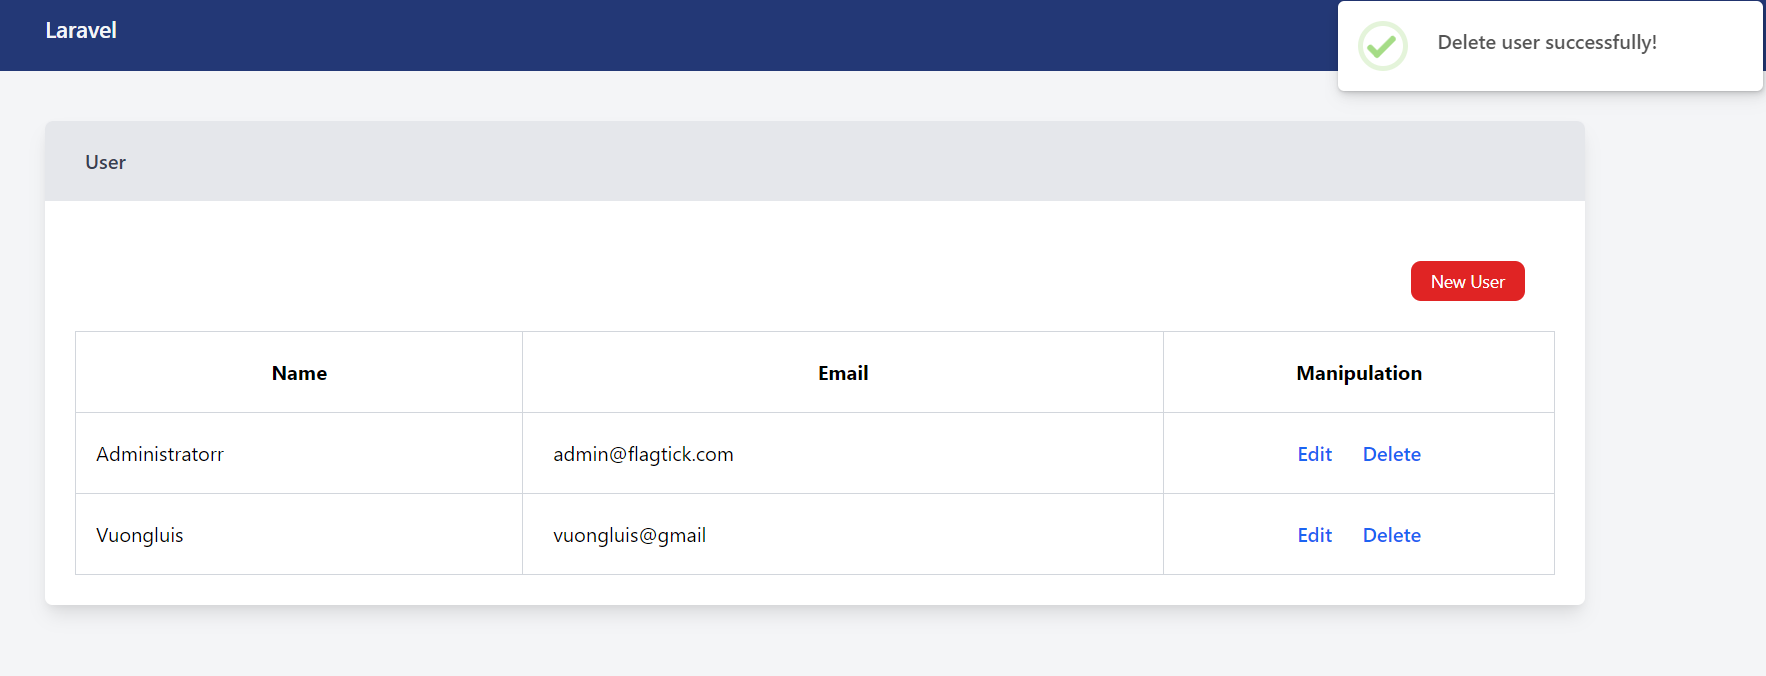
To make use of the Livewire Alert, let’s make a change in the method `deleteuser()` function as below:
use LivewireAlert;

public function deleteuser($user_id) {
    app(UserRepository::class)->delete($user_id);
    $this->emit('refreshUser', 'user.index');
    $this->alert('success', 'Delete user successfully!');
}
Check out the complete source code on Github.????
VIII. Conclusion
The article mainly presented how to create a complete Laravel CRUD application. Describe how to use Livewire - full-stack framework, Live Alert, and L5-Repository. If you encounter any problem while referring to our post, please leave a comment below to support you.
IX. Video
Get better guidance understanding! Watch our short YouTube video with practical tips and real-life examples. Improve your skills and learn with ease. Visit our channel now!